Secure an Azure App Service with an App Service Managed Certificate
In the last tutorial of “Host WordPress on Microsoft Azure” series, you will protect your domain with a free App Service Managed Certificate.
A few months ago, Microsoft announced the public preview of the updated WordPress on Azure App Service. The updated WordPress installation comes with the latest stable versions of WordPress and PHP, pre-installed plugins for caching, and image compression, and easier configuration options.
Given this announcement, I decided to update my old article about creating a WordPress website on Azure App Service to reflect the newly available deployment options. In this article, you will learn how to deploy a WordPress website to Azure App Service on Linux using the Azure portal.
To complete the exercise, you will need an Azure subscription. If you don’t have one, you can sign up for an Azure free account.
Sign in to Azure Portal and select Create a resource.
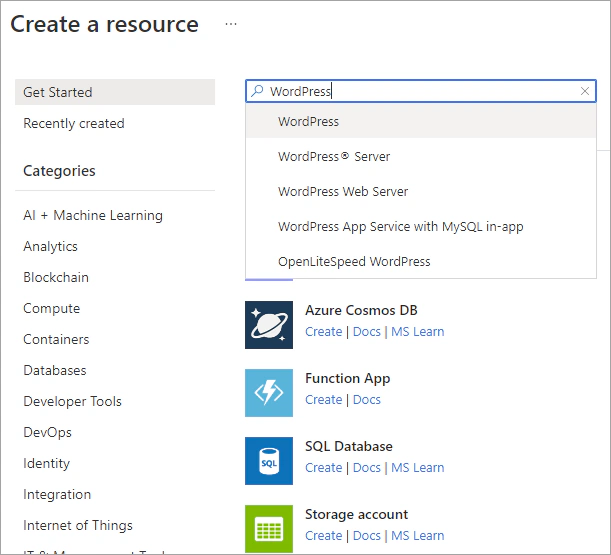
Search for WordPress, select the default WordPress option and click Create.
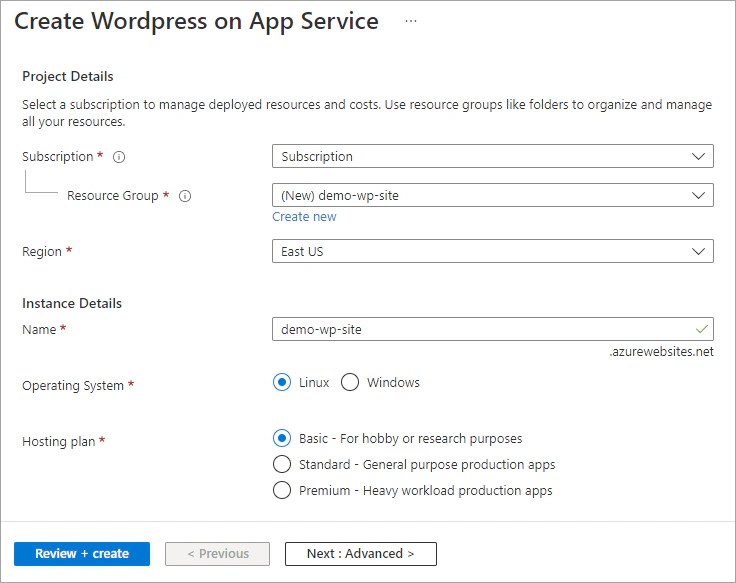
Create a WordPress site on App Service with the following settings:
Click on Next. Under the Advanced tab, select the language of the site and enable or disable the Content Distribution capability.
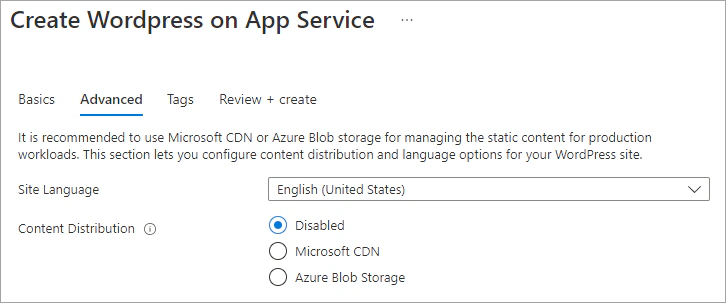
Select Review + Create and then click Create.
Once the deployment is complete, navigate to your website and verify that is up and running. You are now ready to add content to your website!
The next step is to start building your websites. Install a theme, remove the existing WordPress parts (Hello World post, comment, and page, unused plugins, and themes) and configure basic WordPress settings (tagline, time zone and date format, permalinks, and discussion settings).
If you have finished learning, you can delete the resource group from your Azure subscription:

In the last tutorial of “Host WordPress on Microsoft Azure” series, you will protect your domain with a free App Service Managed Certificate.
In the fourth tutorial of “Host WordPress on Microsoft Azure” series, you will learn how to map a custom domain name to your website.
In the third part of “Host WordPress on Microsoft Azure” tutorial series, you will use the FTP deployment credentials to connect to your WordPress app.
In second part of “Host WordPress on Microsoft Azure” tutorial series, you will learn how to update the PHP version via the Azure Cloud Shell.