Serverless image classification with Azure Functions and Custom Vision – Part 4
In this article, you will deploy a function project to Azure using Visual Studio Code to create a serverless HTTP API.
Azure Custom Vision is an Azure Cognitive Services service that lets you build and deploy your own image classification and object detection models. You can build computer vision models using either the Custom Vision web portal or the Custom Vision SDK and your preferred programming language. In the previous posts, I have shown you how to create image classification and object detection models through the Custom Vision web portal, test and publish your models and use the prediction API in Python apps.
To find out more about previous posts, check out the links below:
In this article, we will export our Custom Vision model in TensorFlow format for use with Python apps. You will learn how to:
To complete the exercise, you will need:
In this article, I will use a Custom Vision model for Vegetables detection. If you are interested in learning more about this project, you can read my article “Object detection model for grocery checkout with Azure Custom Vision”.
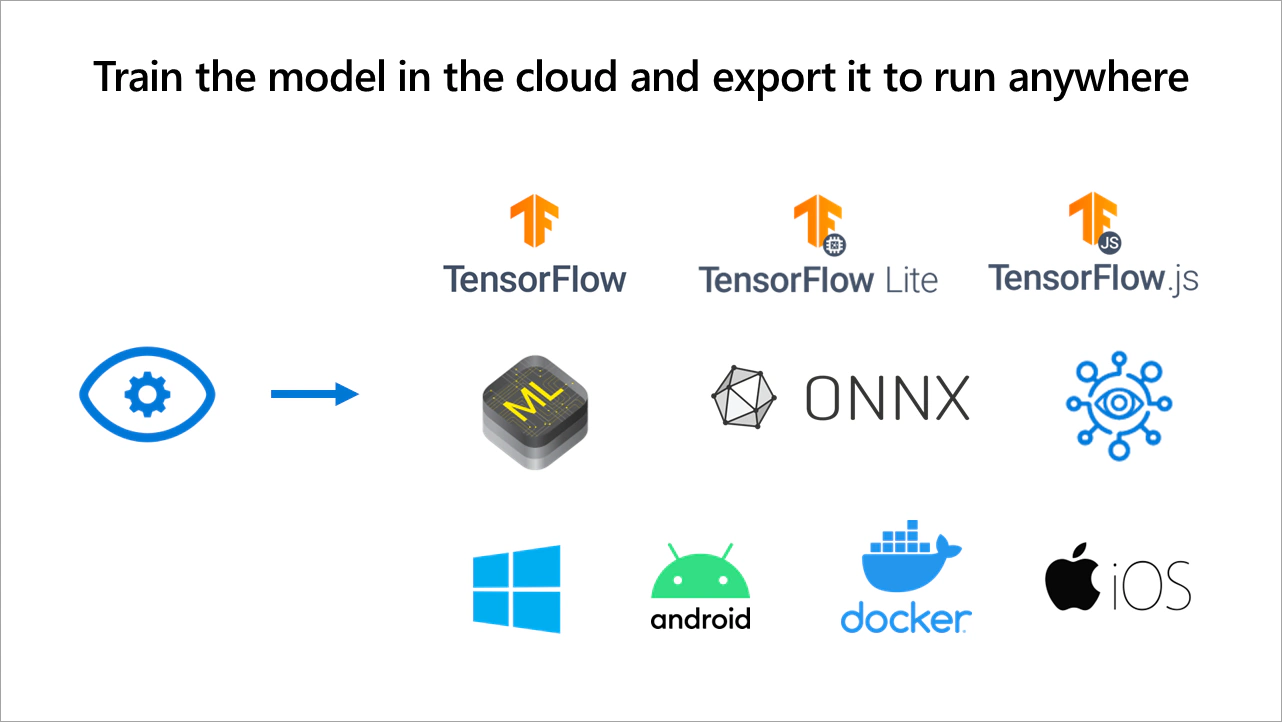
Azure Custom Vision Service lets you export your image classification and object detection models to run locally on a device. For example, you can utilize the exported models in mobile applications or run a model in a microcontroller to deploy a Computer Vision application at the edge.
You can export a Custom Vision model in the following formats:
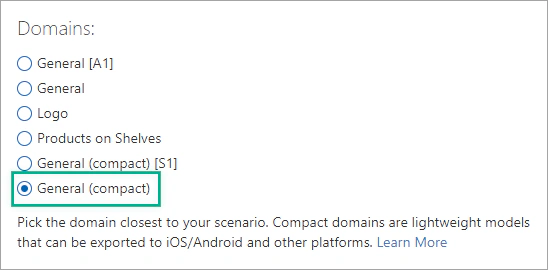
To export a Custom Vision model, you should use a Compact domain. Compact domains are optimized for real-time classification and object detection on edge devices.
In this section, you will convert the domain of your existing Custom Vision model to a compact one.
Sign in to the Custom Vision web portal and select your project.
Then, click on the settings icon (⚙) at the top toolbar to view the project settings.
Under Domains, select one of the Compact domains and click Save Changes.
Select the Train button to train the model using the new domain.
Navigate to the Performance tab, select the latest Iteration, and then click the Export button.

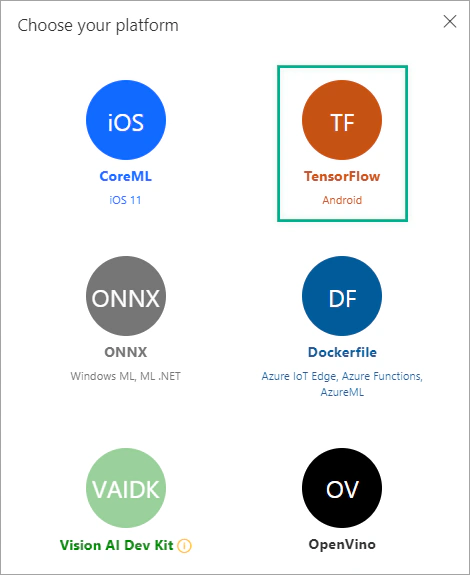
In the Choose your platform window, select TensorFlow – Android.
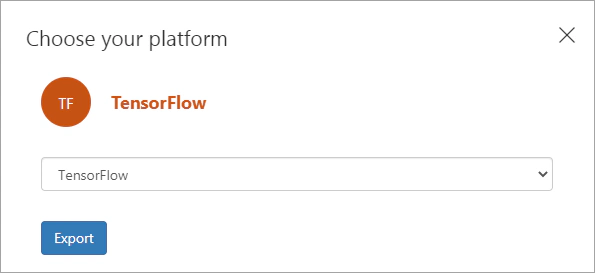
Then, select TensorFlow in the dropdown list and click Export.
The downloaded .zip file contains the following files:
model.pb file which represents the trained model,labels.txt file which contains the classification labels, andTo complete this exercise, you will need to install:
Next, you will need to install the following packages:
| |
Unzip the downloaded folder and open the predict.py file.
Open the cmd and run the Python script passing as argument the filename of an image.
The prediction results will be displayed in the terminal.

In the following sections, we will improve the way that the prediction results are displayed and try to build a “real-time” object detection app using OpenCV and our web-camera!
Want to view the whole Python script at once? You can find it on GitHub.
In the predict.py file, replace the main function with the function detect_image(), which opens a local image and returns the prediction results.
| |
Create a new Python file (camera.py) and import the following packages.
| |
Use the following code to take an image from your camera and save it in a file.
| |
Then, use the function detect_image() to get the prediction results.
| |
Now, you can display the predicted probabilities and a bounding box around every detected object.
| |
Finally, release the camera.
| |
In this article, you learned how to export an Azure Custom Vision model to run offline and use a TensorFlow model in a Python app. You can learn more about the available export options of Azure Custom Vision service on Microsoft Docs.
Here are some additional resources:

In this article, you will deploy a function project to Azure using Visual Studio Code to create a serverless HTTP API.
In this article, you will create a Python Azure Function with HTTP trigger to consume a TensorFlow machine learning model.
In this article, you will learn how to export a Custom Vision model programmatically using the Python client library.
In this article, we will build and deploy a festive Custom Vision object detection model to help the Christmas elves find Santa Claus.